The Litelab portion of my project officially started sometime in March-ish 2007. I was nearing the rough-in electrical inspection for my new game room project and needed to finalize my disco lighting idea soon. I had been looking for "this" particular lighting system which I had fond memory's for many years but with no luck, so I had pretty much given up tracking an original down.
The next step was to stop into a local shop http://www.metrosoundlighting.com/ with my crazy fool gibberish AND crappy pencil drawing of what I was trying to recreate with a DMX system. This is when my luck started to change... Kirvy was able to recalled that the company was Lightlab. BINGO!!! But wait... Lightlab... it took a bit of web searching to find out that it was spelled Litelab.
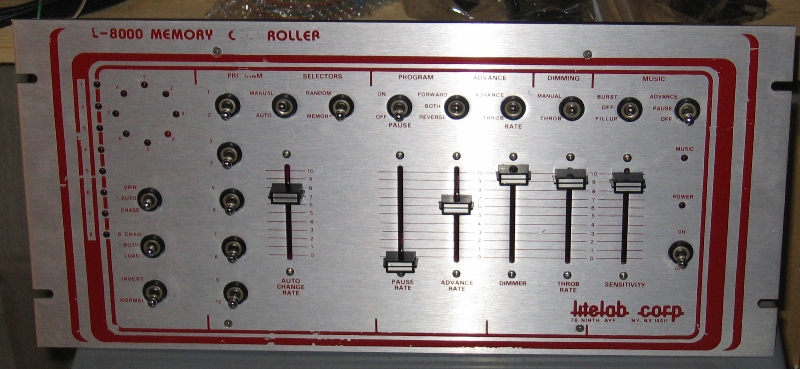
I then stumbled on the website http://www.audiolite.com/Litelab.html. WOO HOO, I called them next day and described what I was looking for. After chatting with a sales associate for a bit, he wandered back into the storage area and said that he thought he knew exactly what I was blathering about..... HOLY CRAP, I'VE FOUND ONE!!! However, I had to wait until the owner got back into town to work out a deal (Crap, another setback.) The next week I received a call from Terry at Audiolite; we worked out the finer points of a deal, and the next thing I know I'm a proud owner of a classic Litelab L-8000 eight channel starburst disco lighting controller!!!
The following photo's document my system...
This is the box that contains the power supply and triacs for switching of the lights. The system uses eight triacs for switching the eight "hot" legs of power fed to each bar. It then uses eight more to switch the neutral wire of each light bar, this is what allows for the "spin" chases.
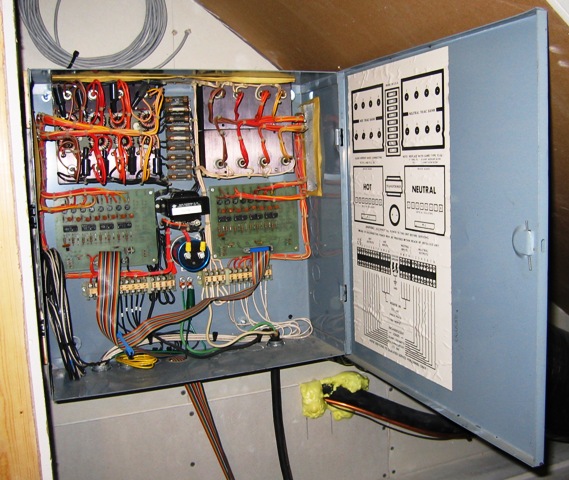
This is the L-8000 logic controller for the system, it connects to the above power box above via a ribbon cable.
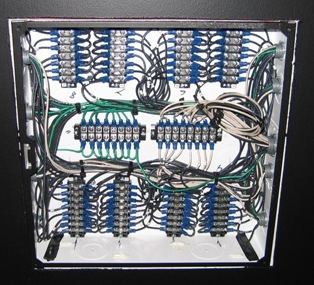
This is a photo of my junction box that ties the eight separate "whips", one from each of the light bars, to the main feed from the control box. Each one of the terminal strips with the black wires is a separate feed for each "hot" channel (in other words there's one "hot" wire for channel #1 from the main control box that has to be split eight times, once for each light bar.) There is also the eight separate neutrals one for each bar as well as the eight grounds.
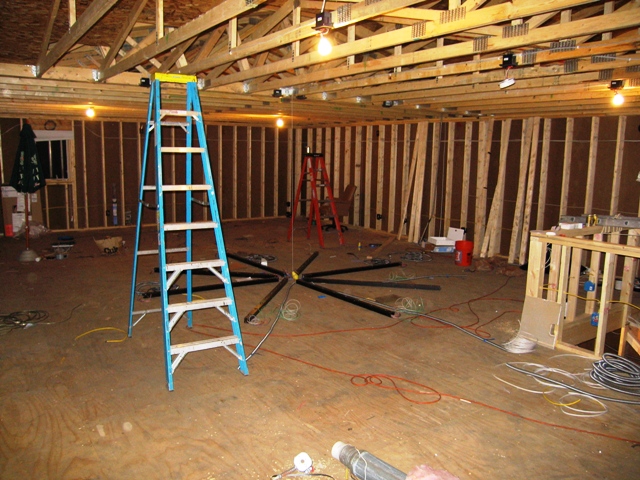
For the layout I didn't have one of the Litelab "center splice boxes" so I simply laid the system out on the floor during rough-in. When sheet rocking of the ceiling was completed, we laid out some circles and grids on the floor to achieve the desired pattern alignment. With the help of a self leveling laser we projected all the desired placement points onto the ceiling (a MUST to achieve the perfectly straight lines between the opposite bars.)
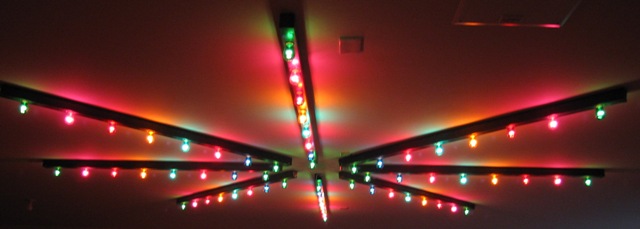
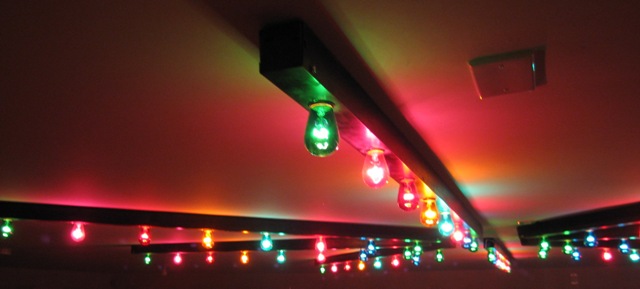
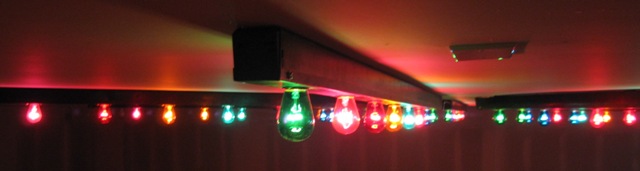
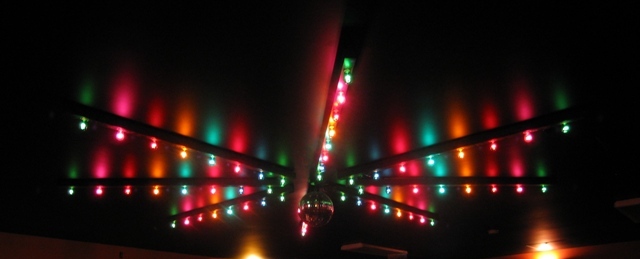
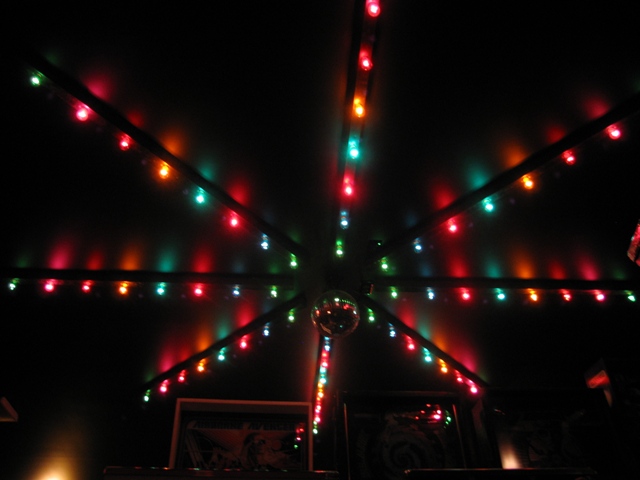
This is pretty much the finished project as far as the installation; I'll post a few more photos in the future once the room is painted and final bars are added. Also videos of my system operating can be see through YouTube at http://www.youtube.com/user/damnbillyseven

Photos of the nearly finished project.
you can go back to
http://www.billyseven.net/litelab/litelab_disco_at_billyseven.html
or home to